Beaver Brook Trail
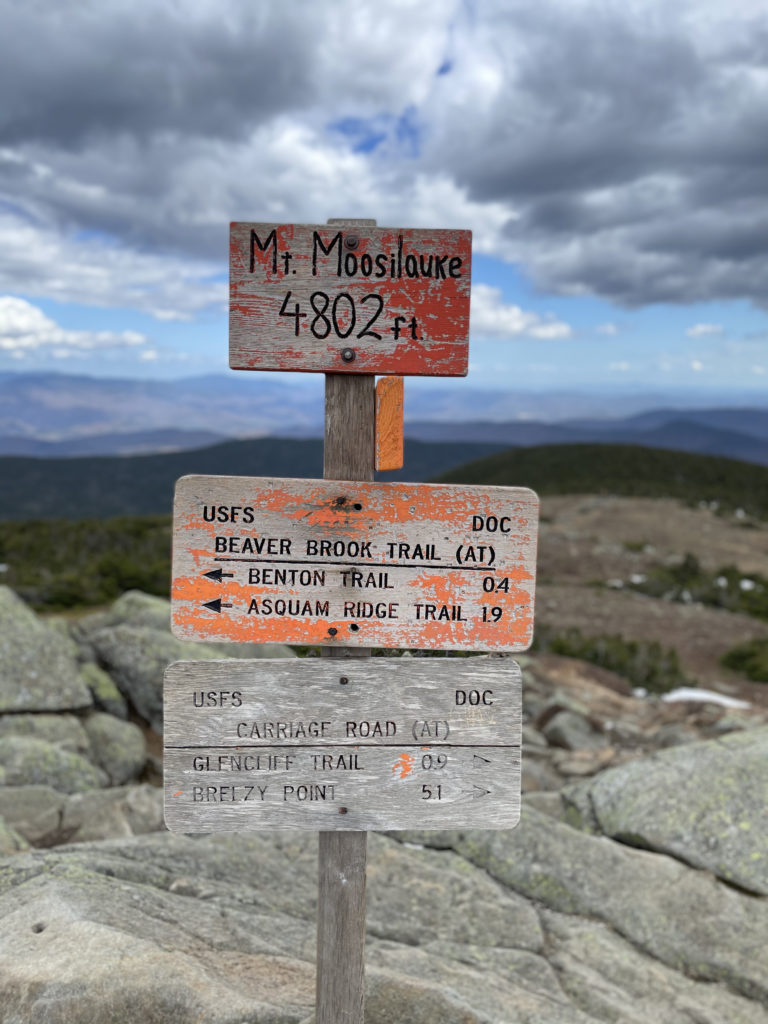
Mt. Moosilauke 4802 ft
My trip up Mt. Moosilauke was Day 1 of my first-of-the-season double hike camping trip. It was supposed to be the easier of the two hikes I planned to complete. Guess what? It wasn’t. Seriously, when am I going to start paying closer attention to elevation instead of just mileage? The learning curve is steep on this one.
There are two campgrounds open year-round in the White Mountains National Forest. Barnes Field, which is a group campground in the summer months, remains open in the winter for individual campers. It’s located near the top of Rt. 16, close to Gorham, NH. The second is Hancock Campground on the western end of the Kancamagus Highway near Lincoln, NH. I stayed at Hancock and chose a site about 100 feet from the Pemigewasset River. Noteworthy: there are campsites even closer, like 10 feet from the river. They are tent-only and you have to carry your gear in from a parking lot nearby. I was pretty sure I’d be sleeping in the car, given the predicted overnight temp of 30 degrees, so I went for a site with a parking spot.
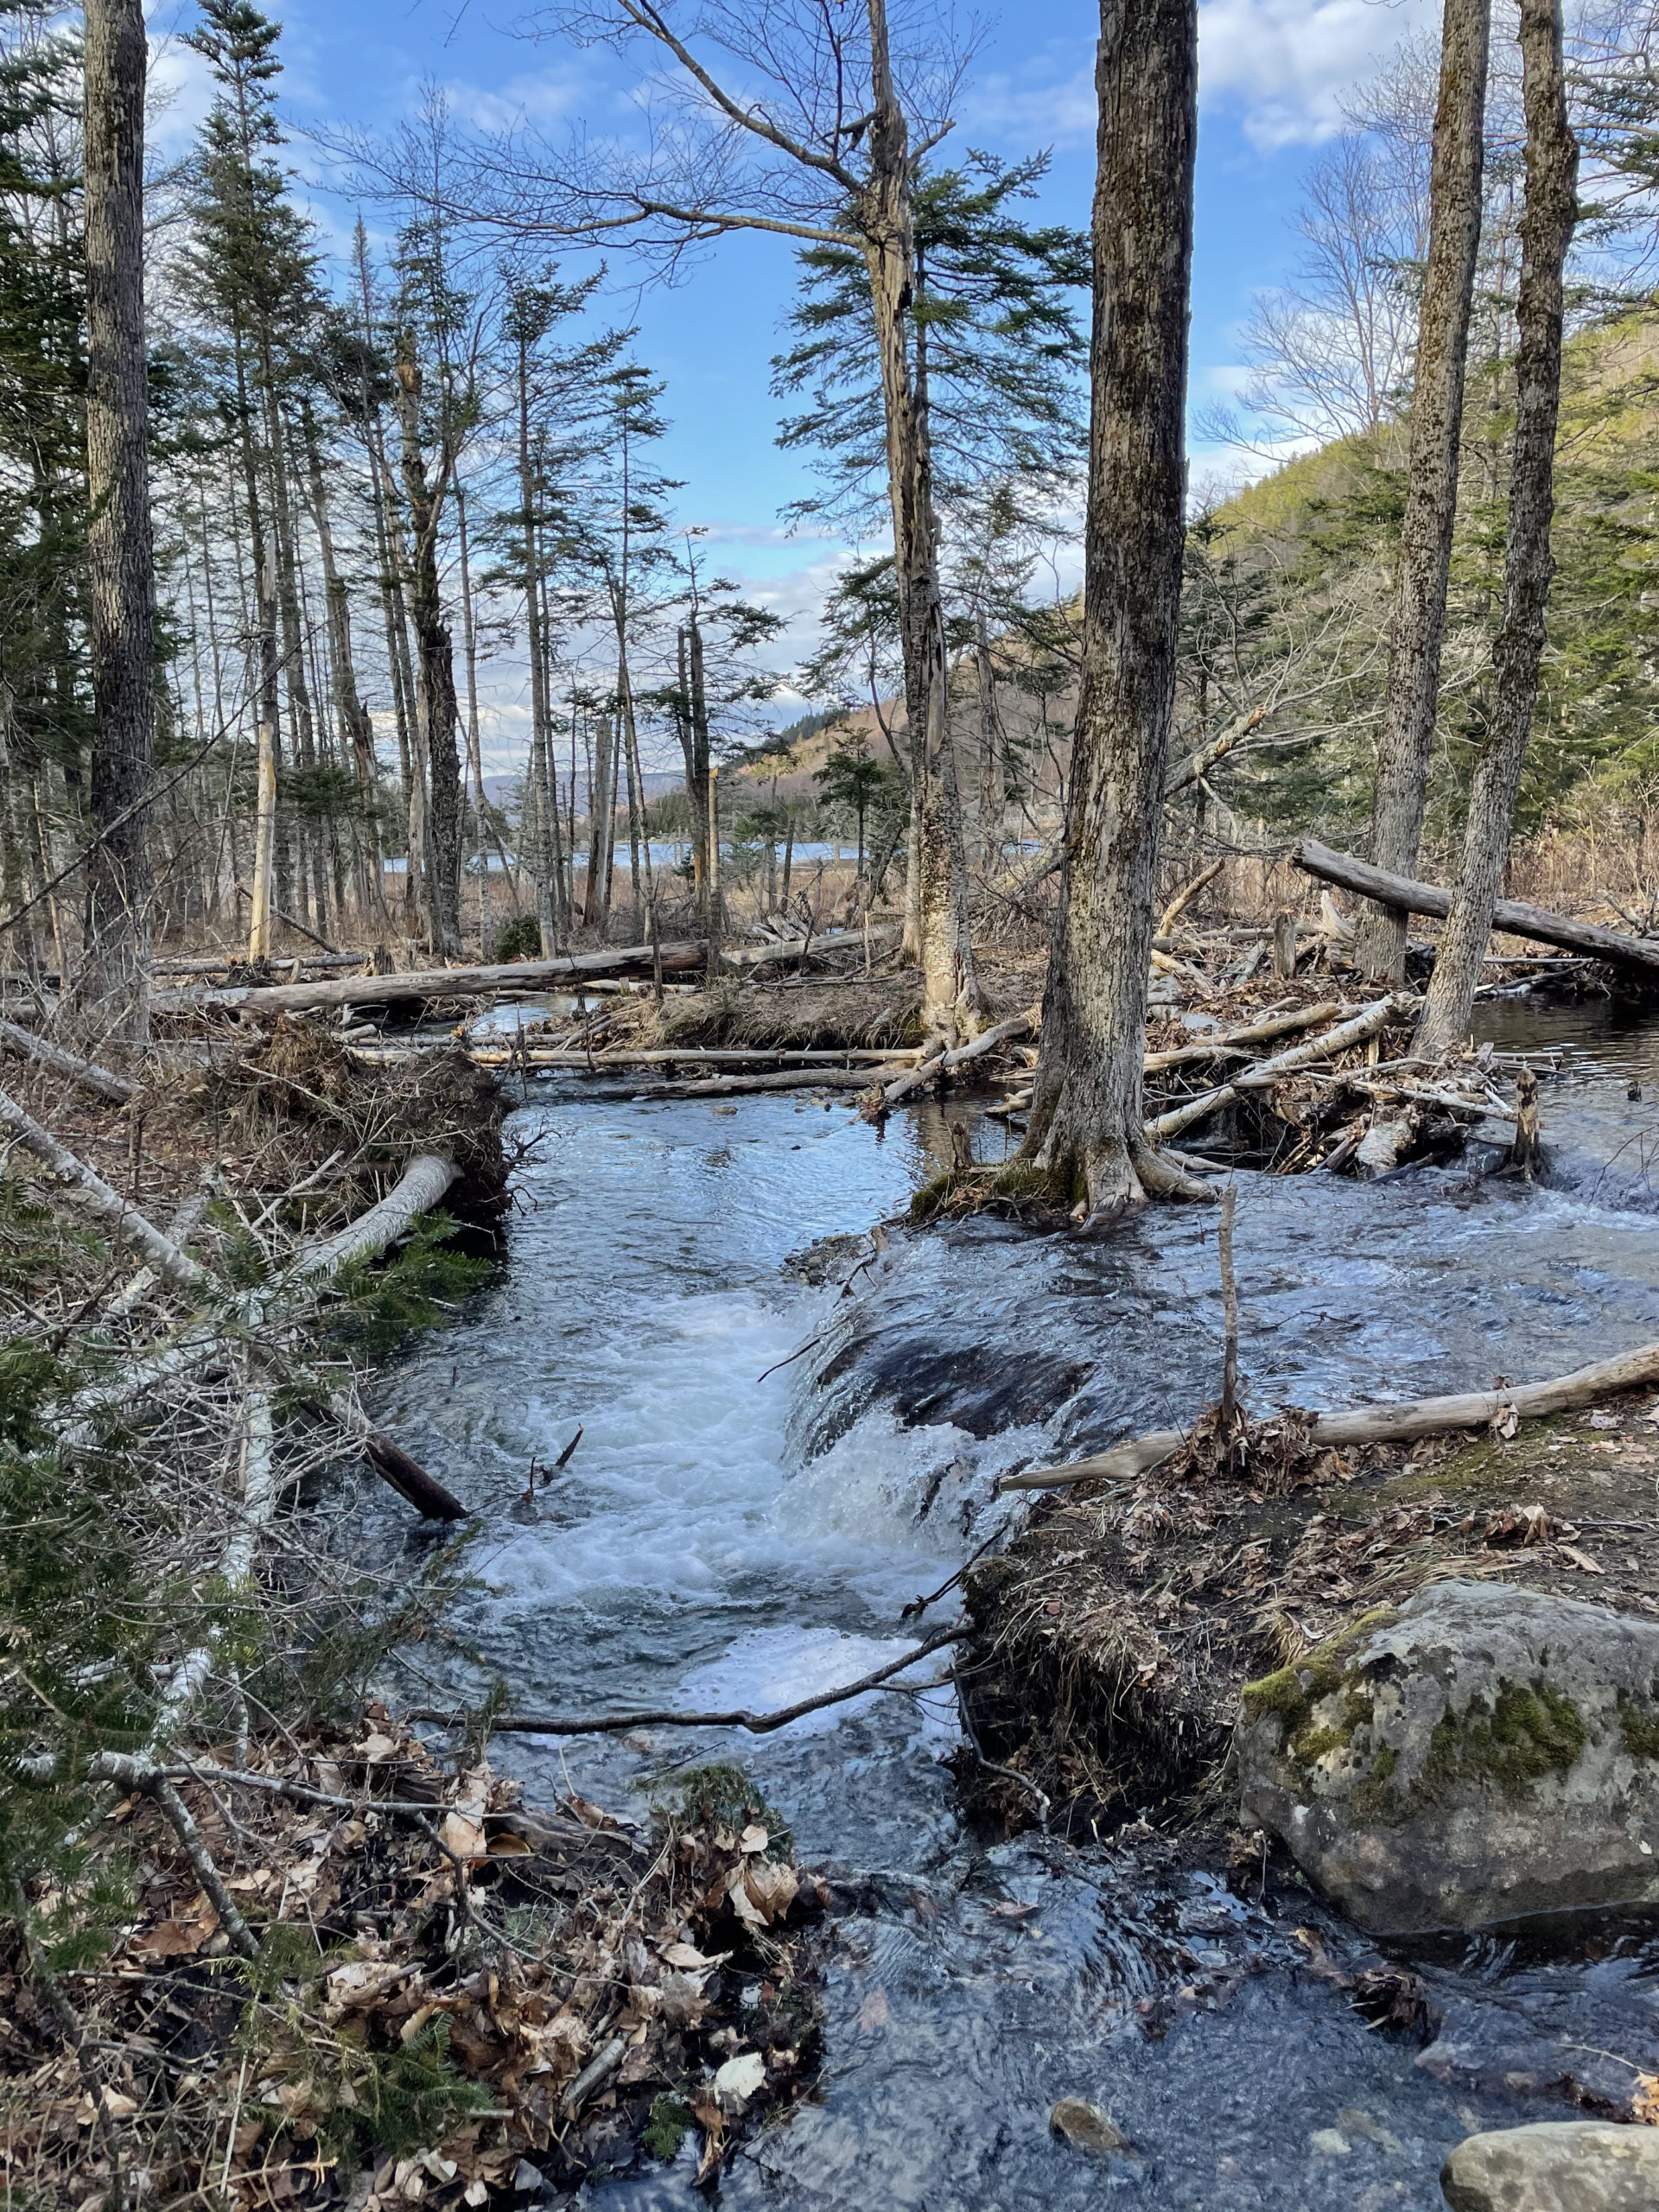

After reserving my camping spot with a chair and paying the self-service fee ($25/night), I headed to Mt. Moosilauke, less than fifteen minutes away. The Beaver Brook Trail is easy to find if you keep heading west on Rt. 12 (aka the Kanc) and cross I-93 in the small town of Lincoln. There is a large parking lot, a pit toilet, and an information kiosk at the trailhead. Beaver Pond is visible through the trees, and the trail crosses easily over Beaver Brook—which empties into the pond—via bridges and rocks. Just before the trail starts to climb, a weathered sign lets you know what you’re in for.
This trail is extremely tough. If you lack experience please use another trail. Take special care at the cascades to avoid tragic results.
I love when signs don’t mince words.
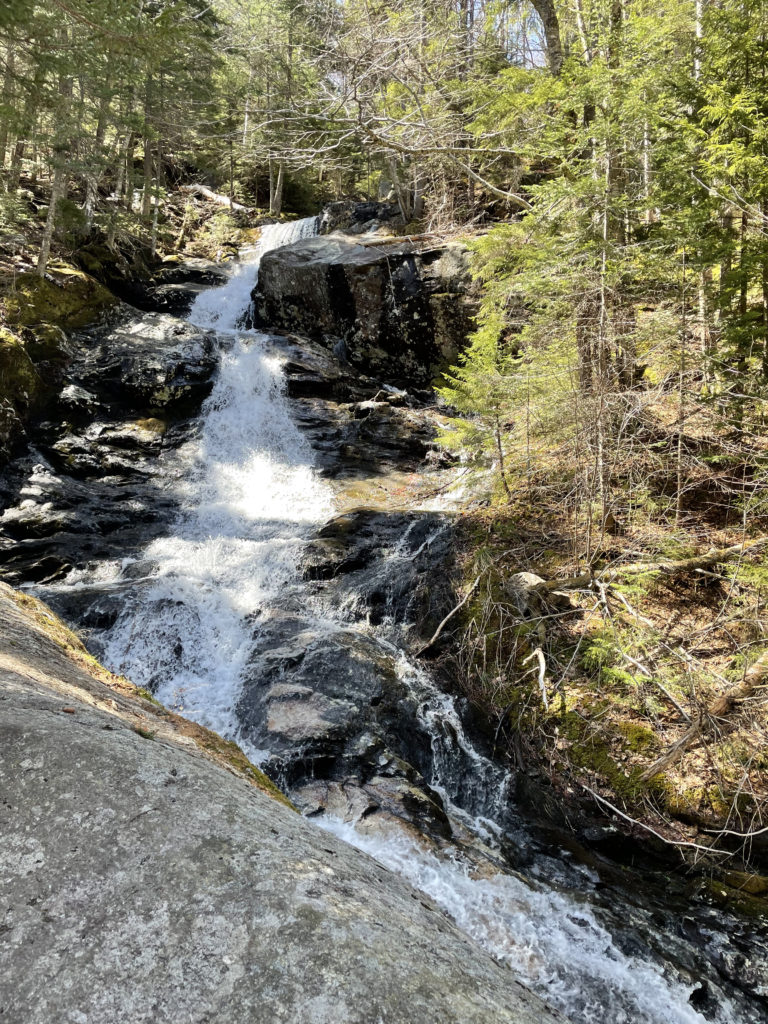
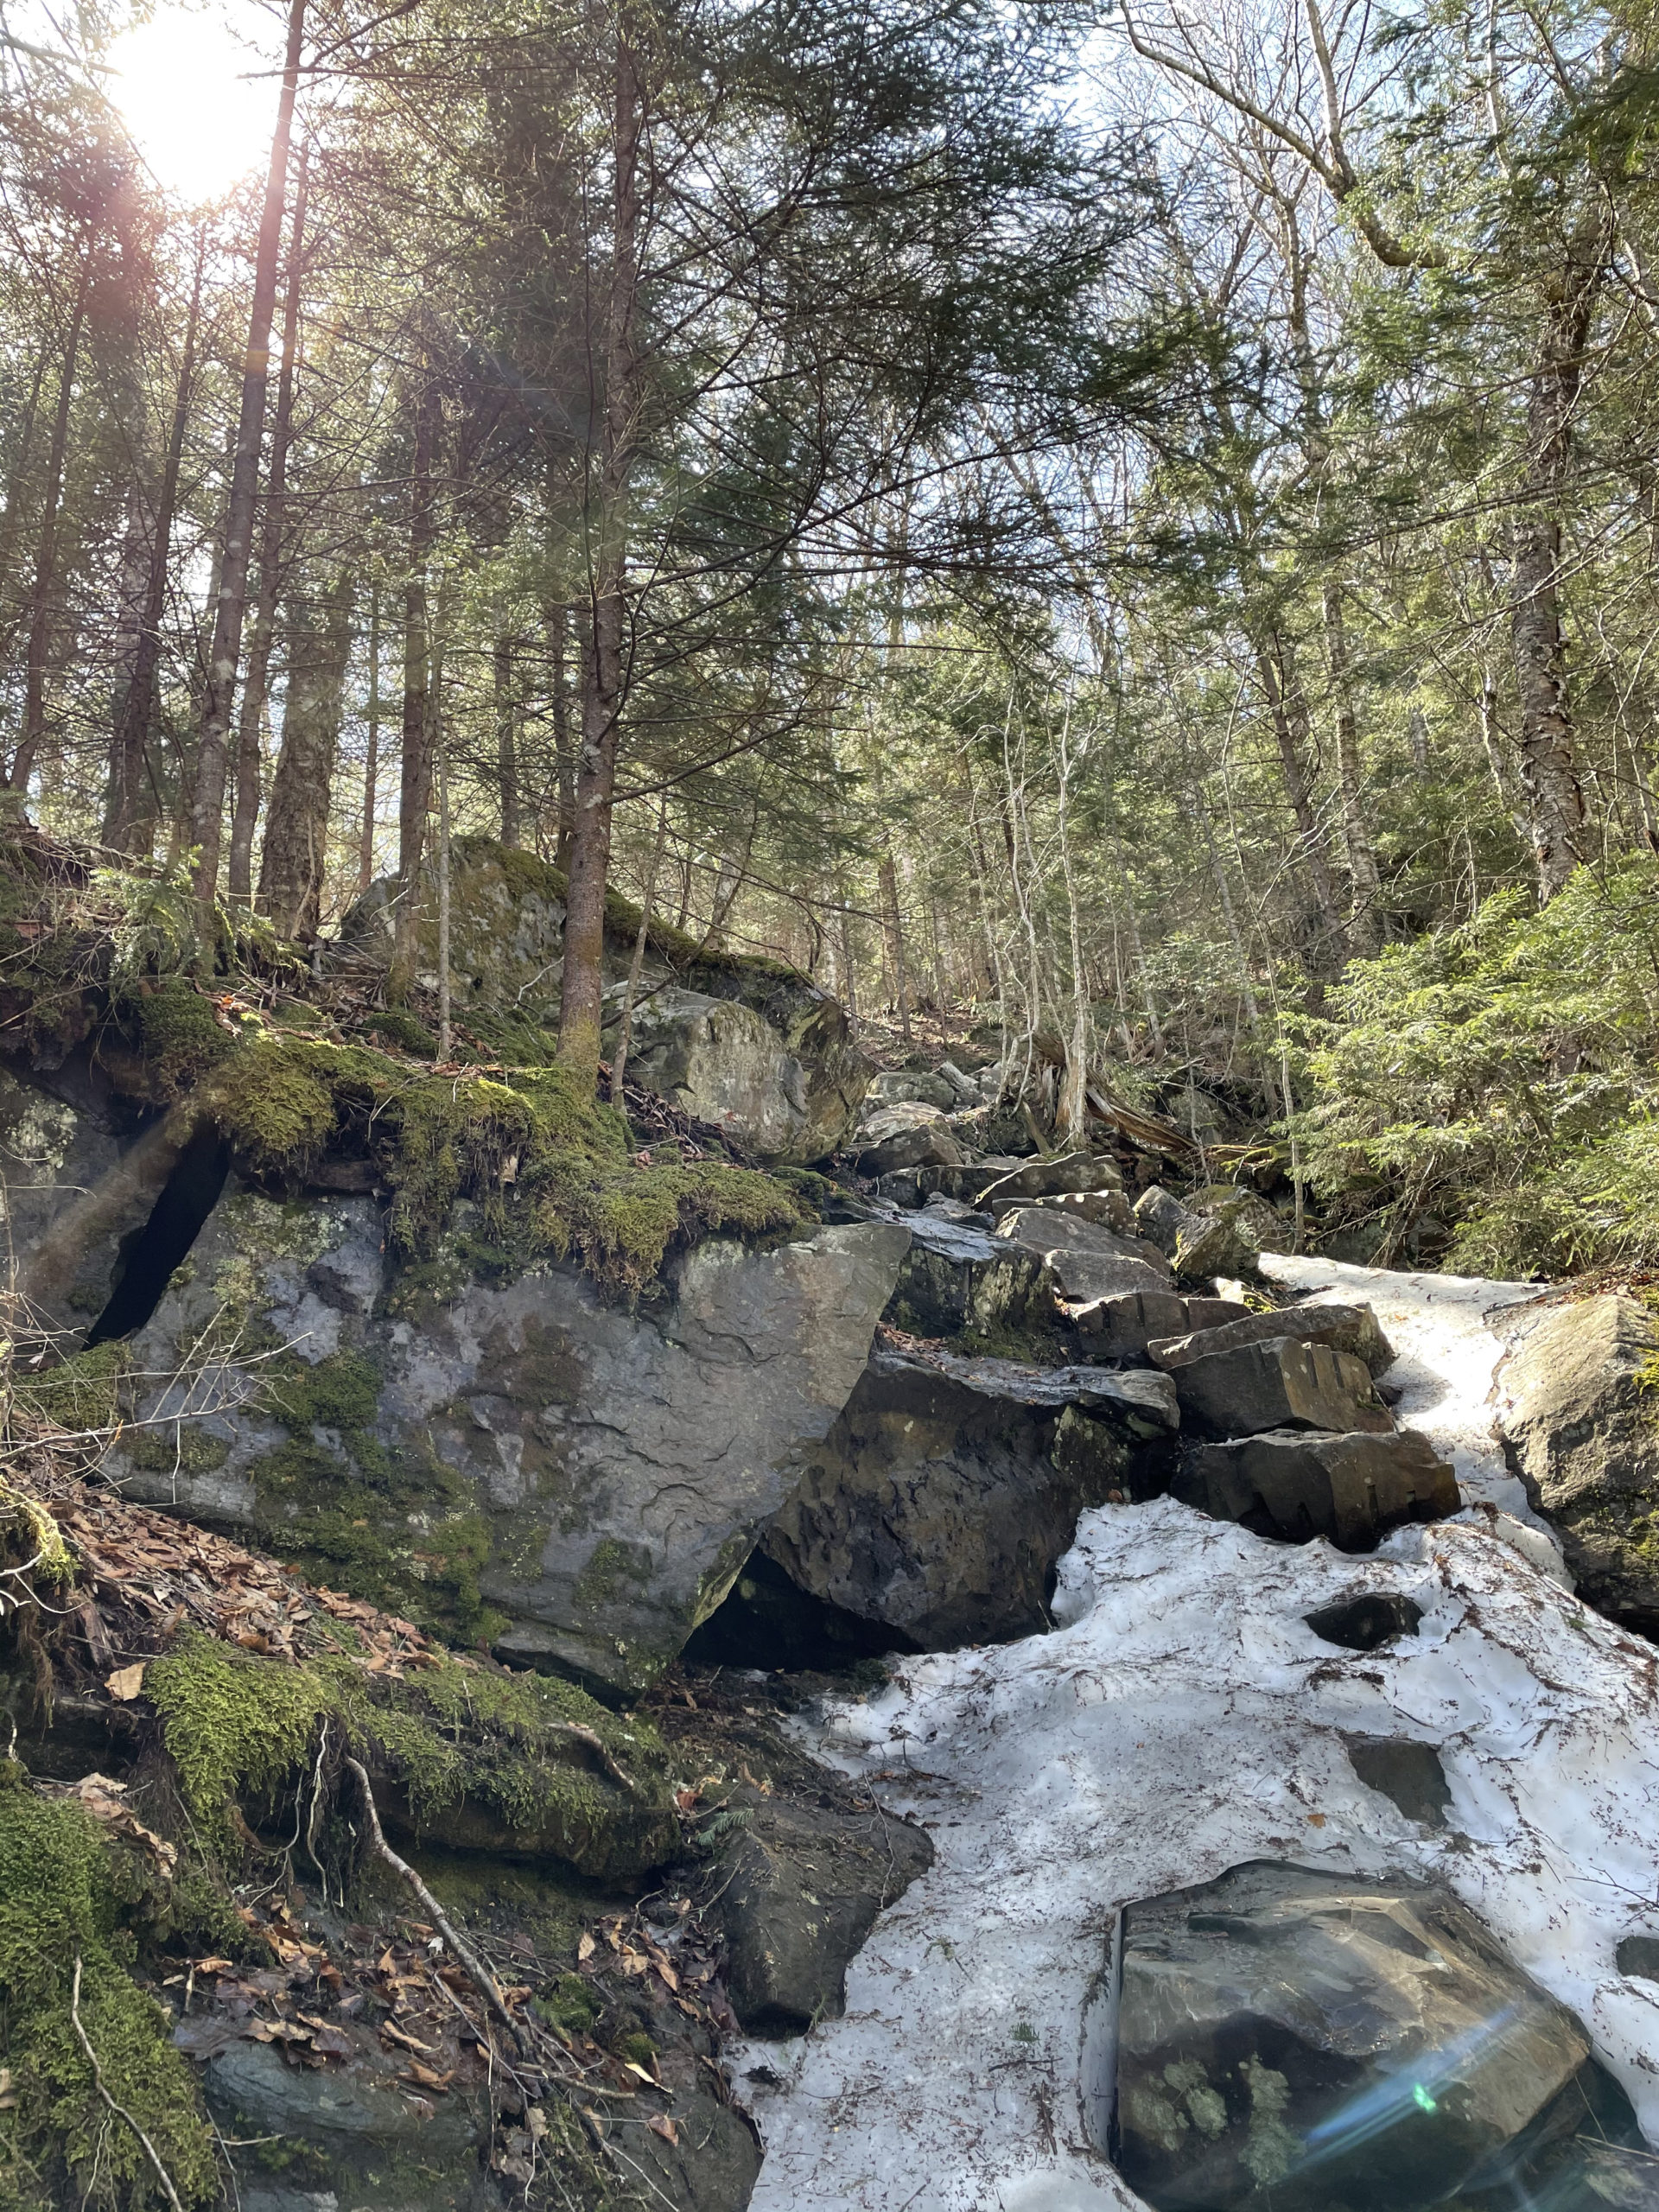
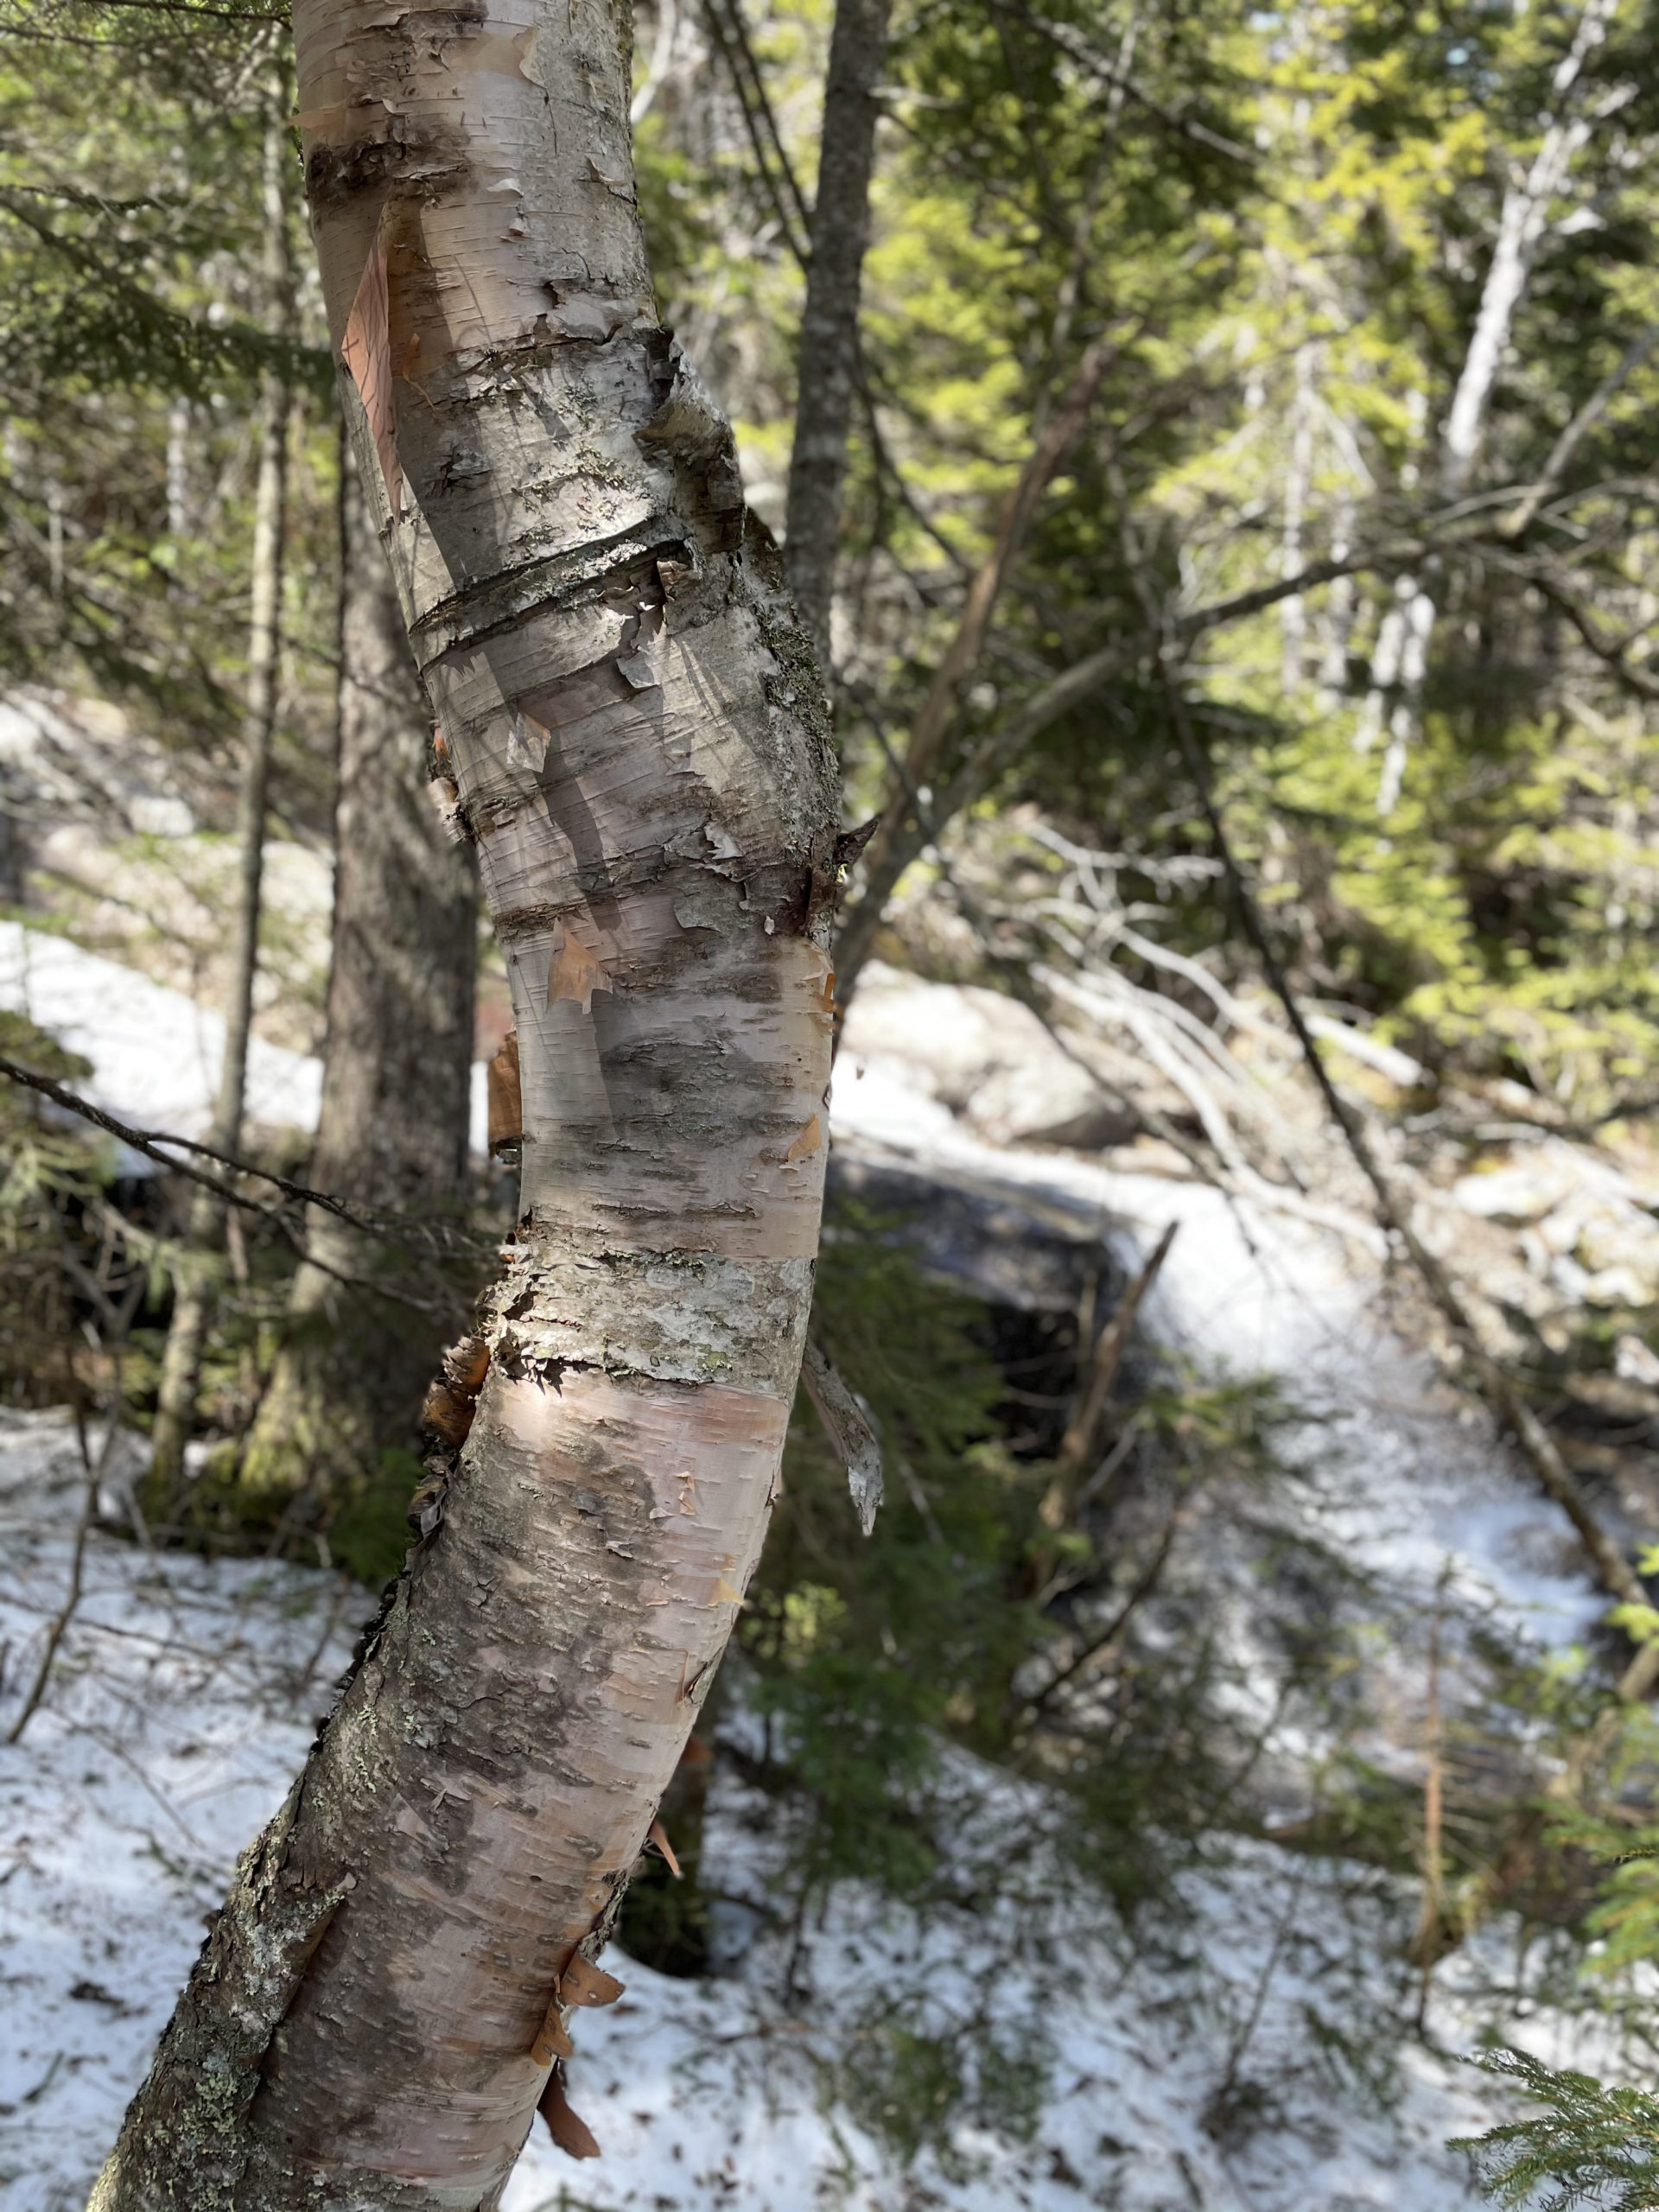
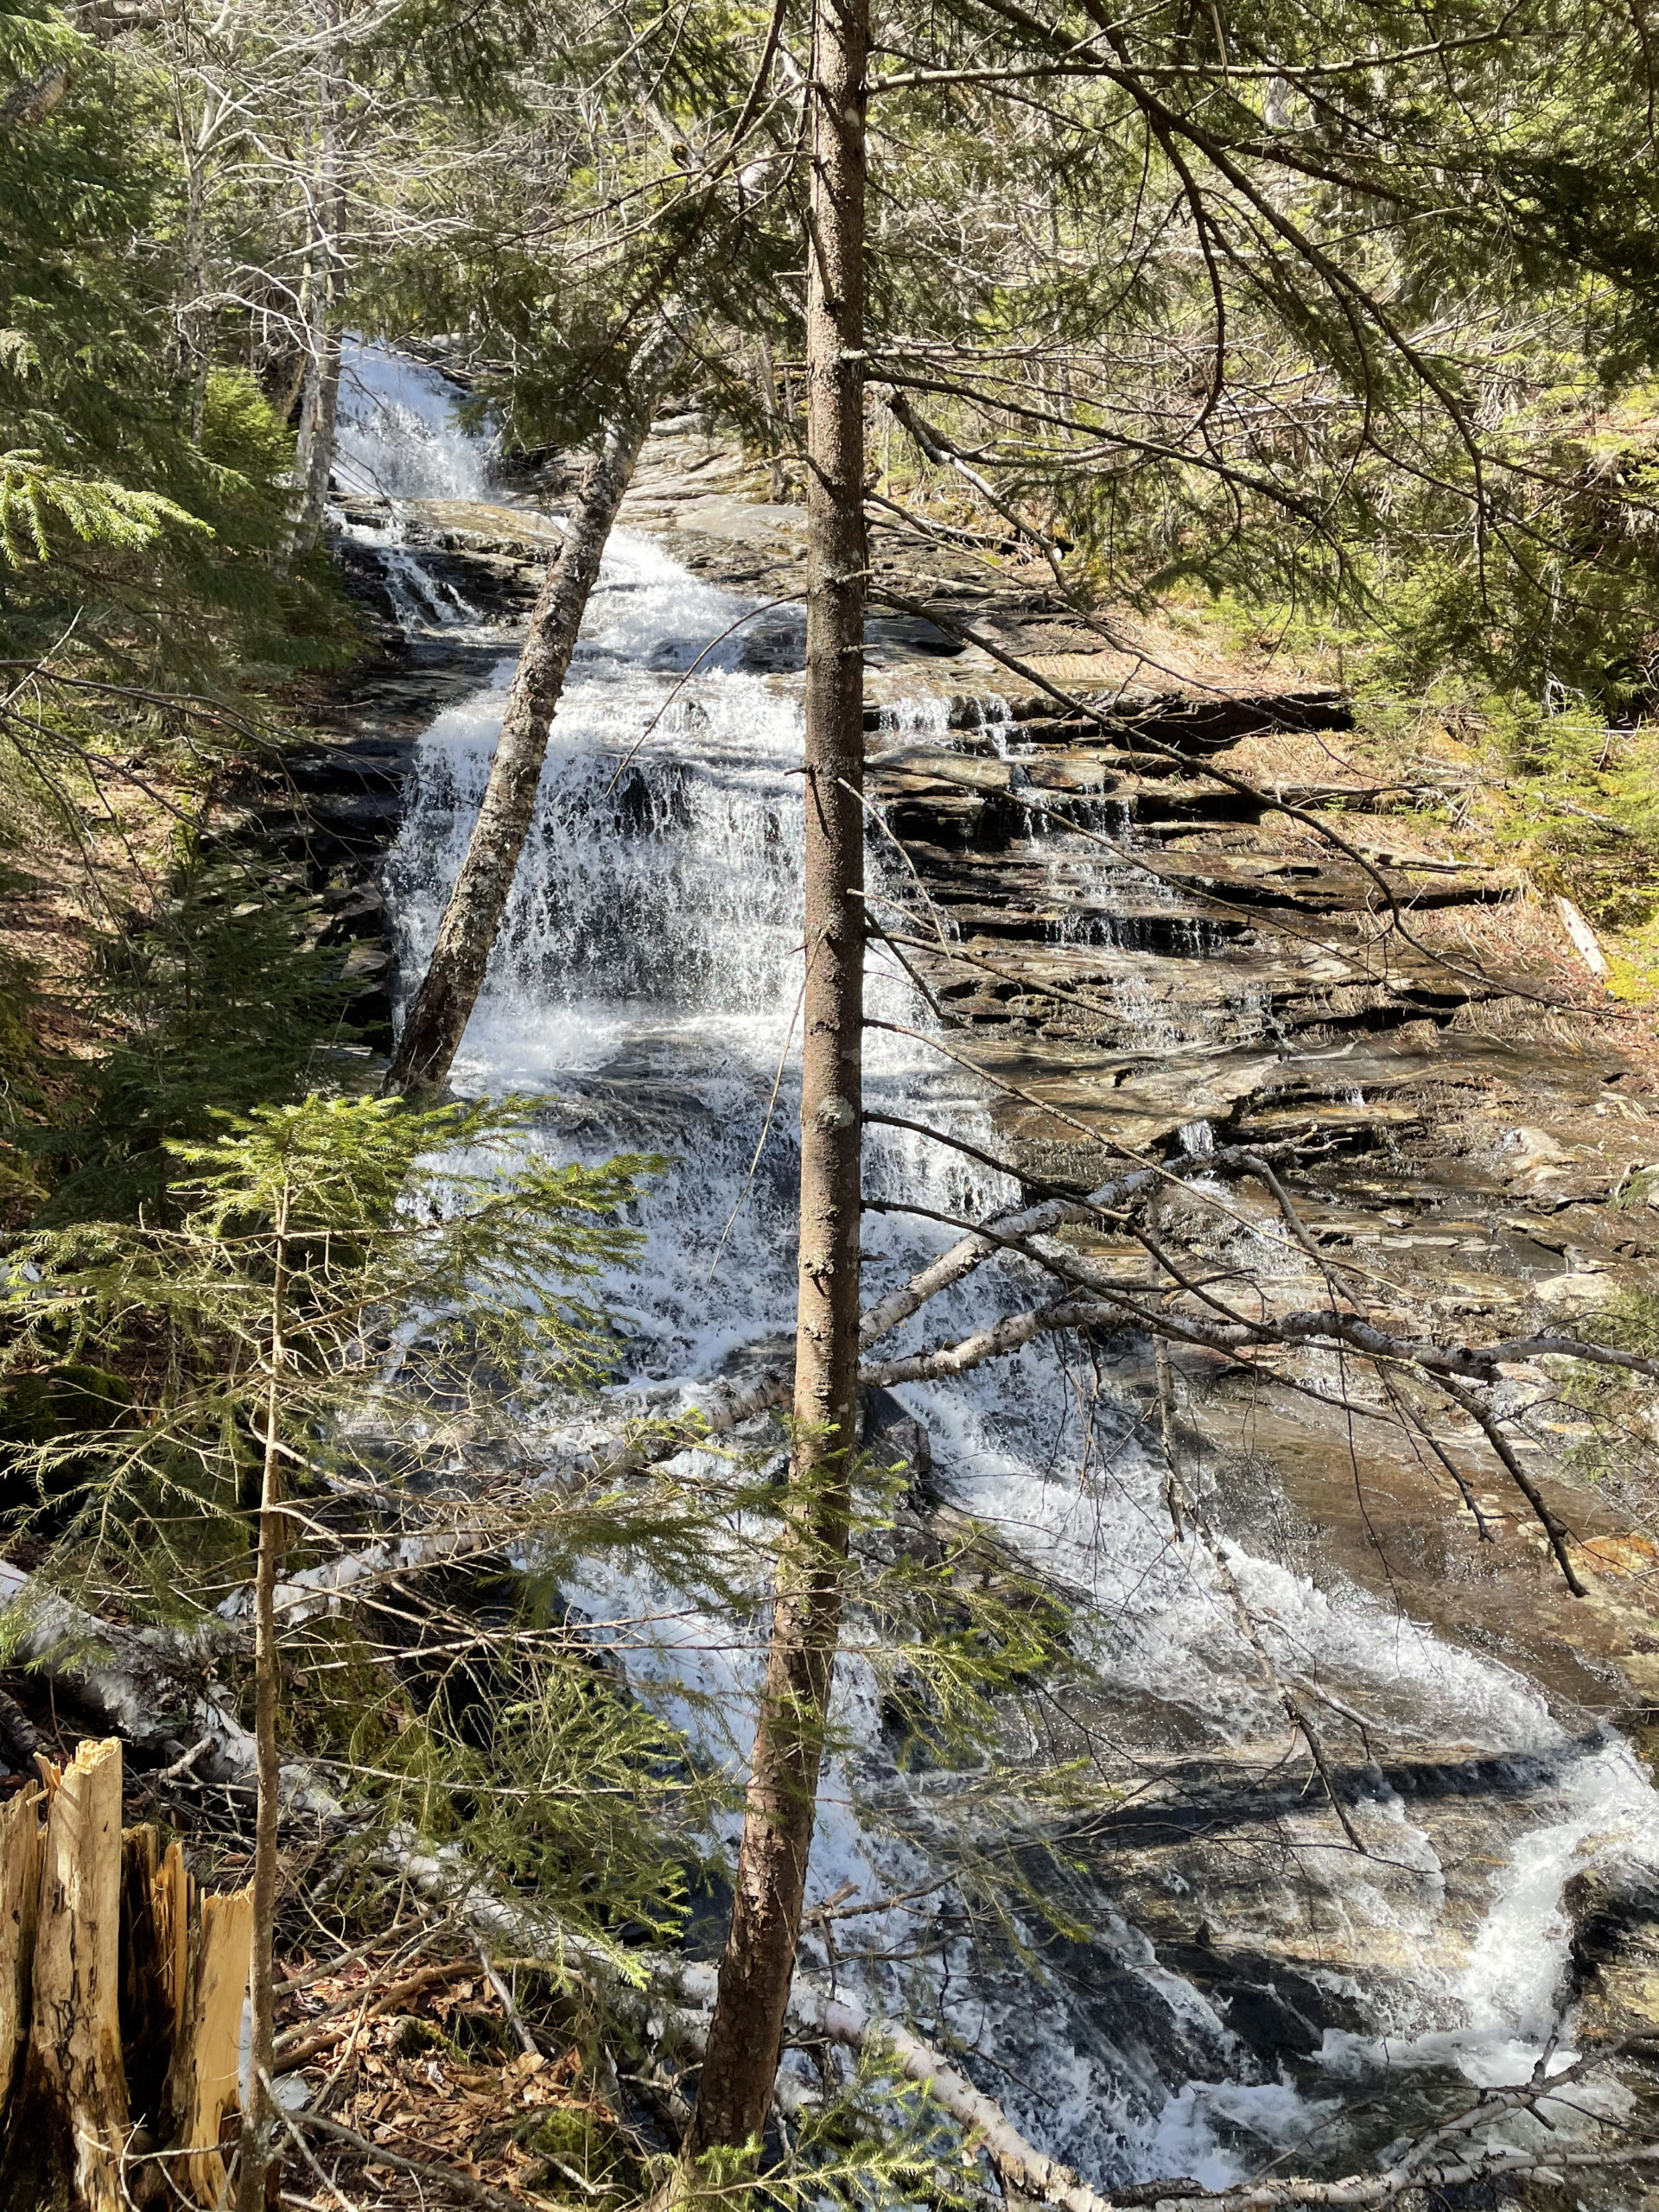
At just under a half-mile, Beaver Brook Cascades climb to the right of the trail. I’ve seen quite a few mountain cascades on my hiking adventures, but none have compared to this. The water crashes noisily over boulders and ledges, creating waterfalls and pools and rivulets. The path and the cascade continue together for over a half-mile, and every step along the way is breathtaking… both visually and actively.
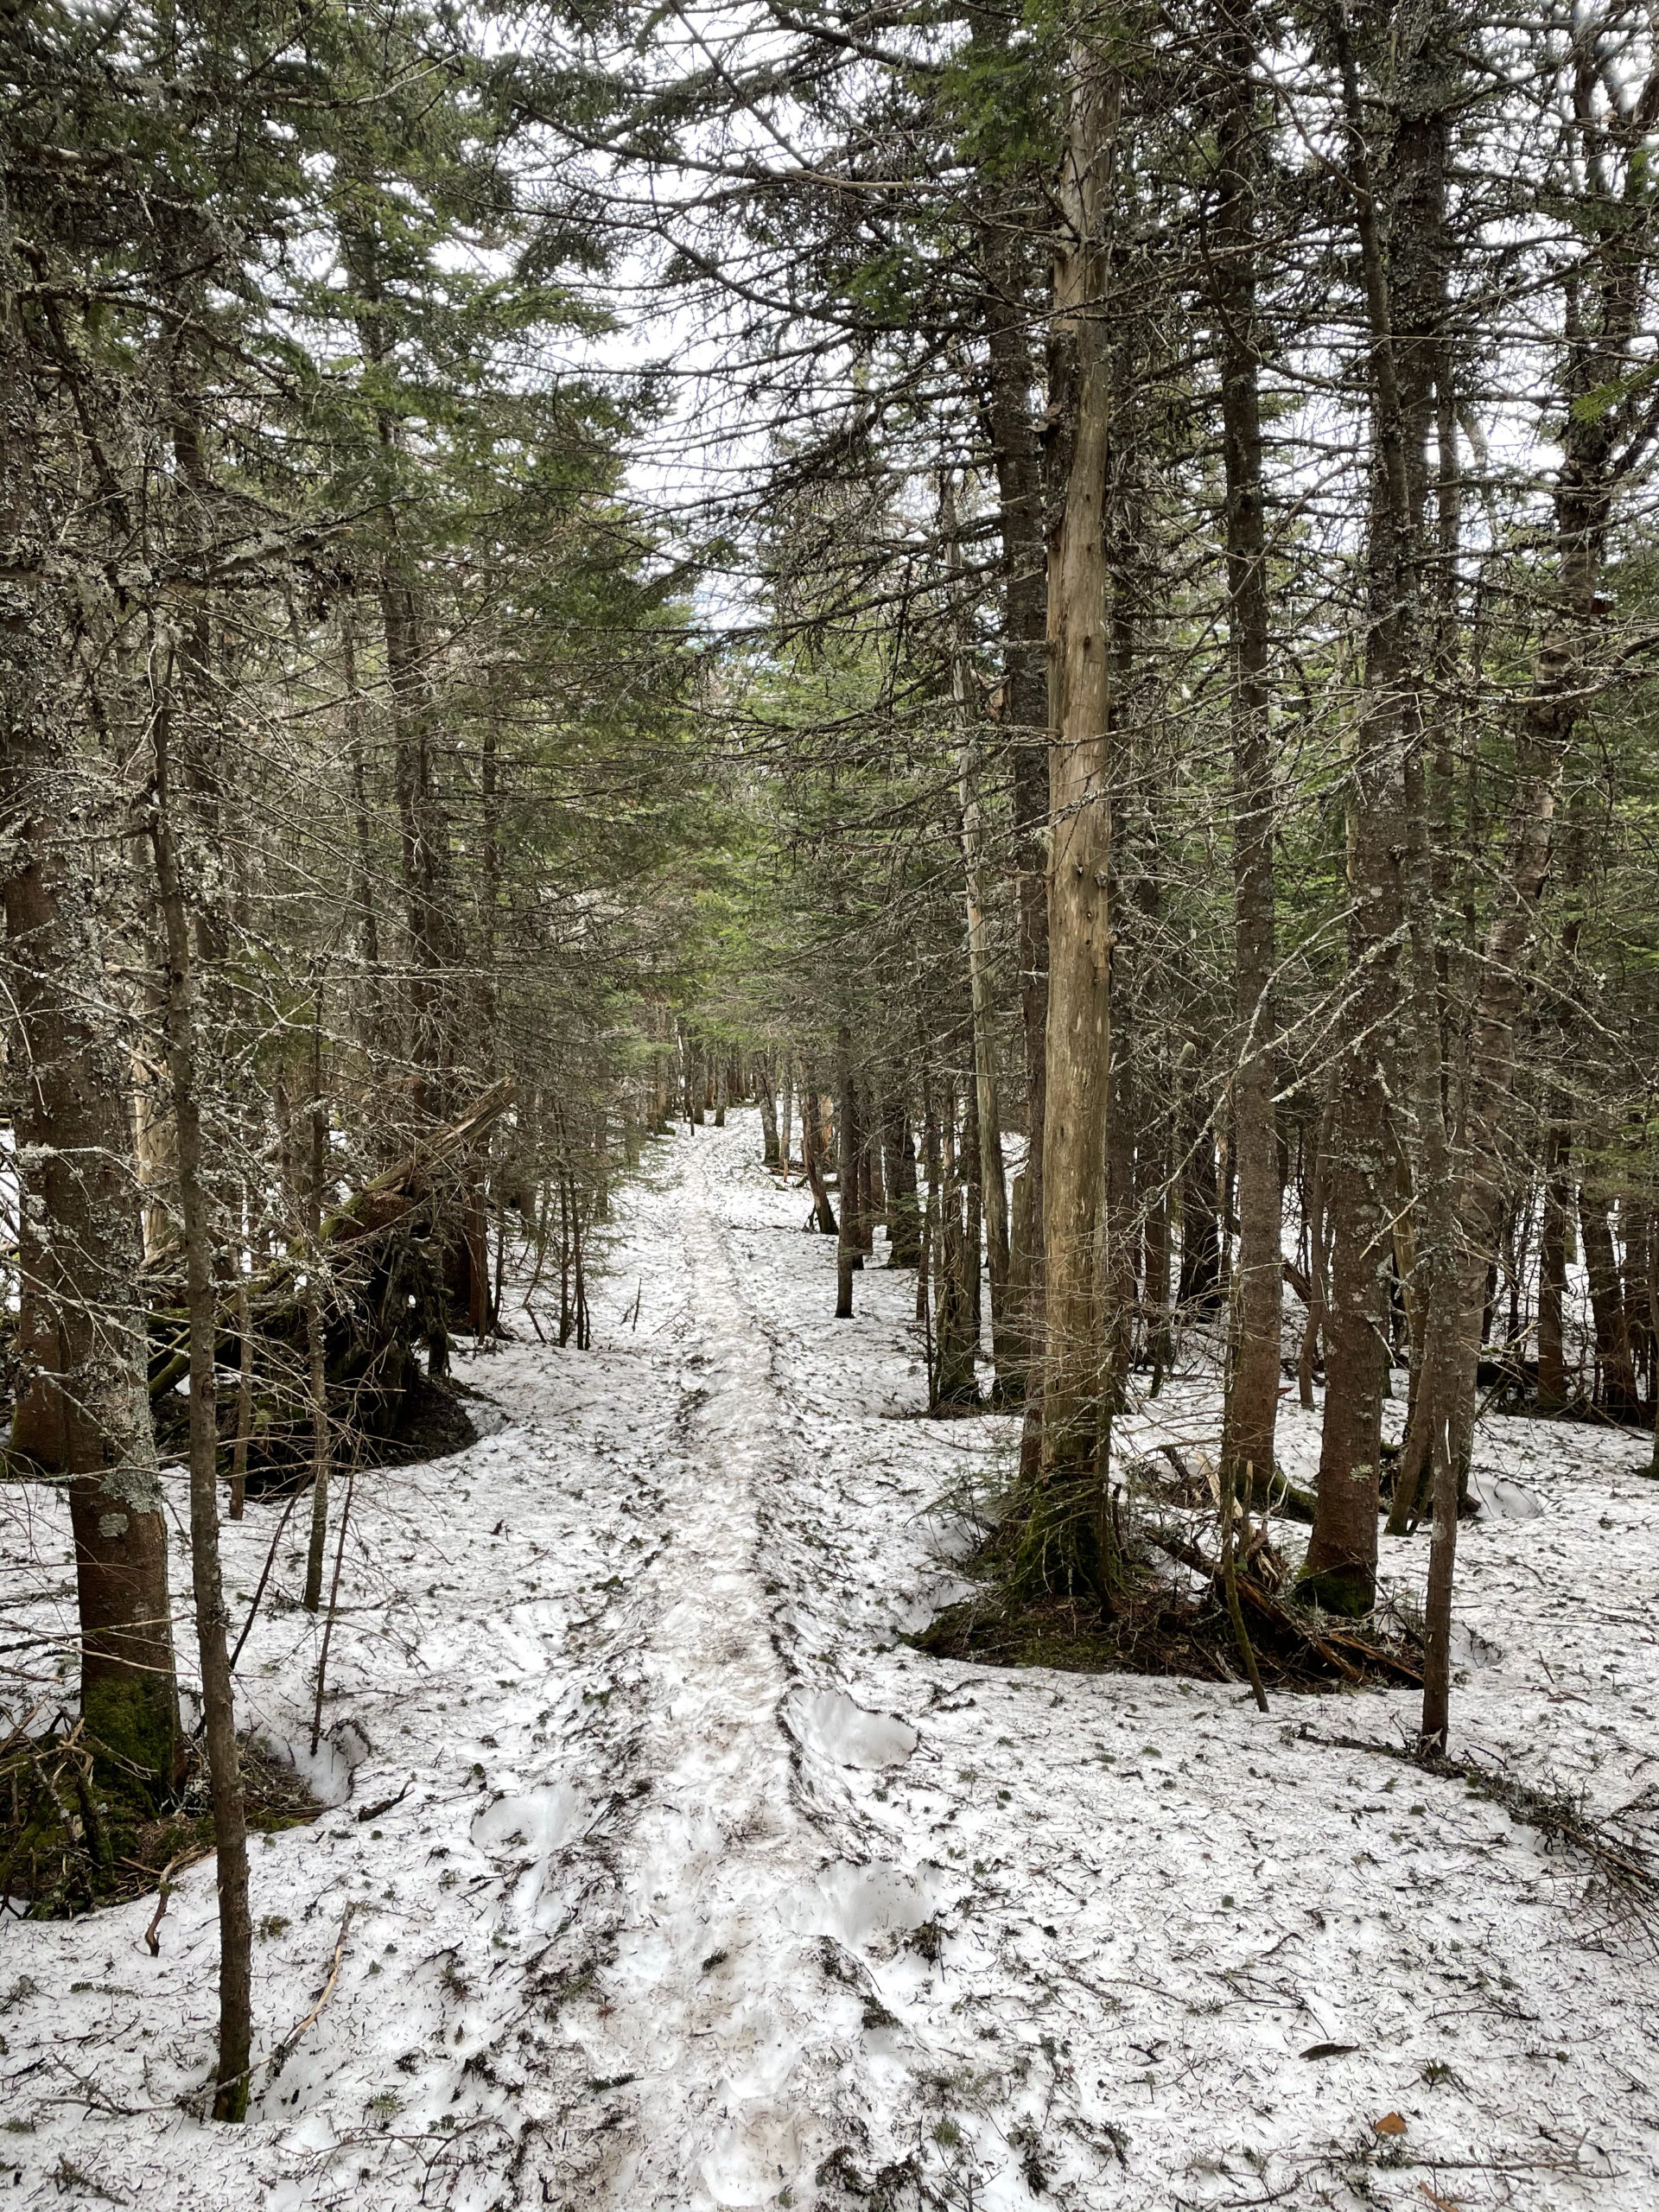
There are stone and wooden steps built into the (insanely steep) trail, as well as hand rungs in several places. Despite the warm temps when I was there, the ground was still snow-covered. MICROspikes were a must, especially when passing a few very steep drop offs. I think I was distracted enough by the cascades to not fully acknowledge my burning thighs, but this climb was no joke. Hiking up to the top of the cascade and back down would be a challenging and satisfying hike for anyone who wants to experience the waterfalls but doesn’t need to tag the Moosilauke summit.
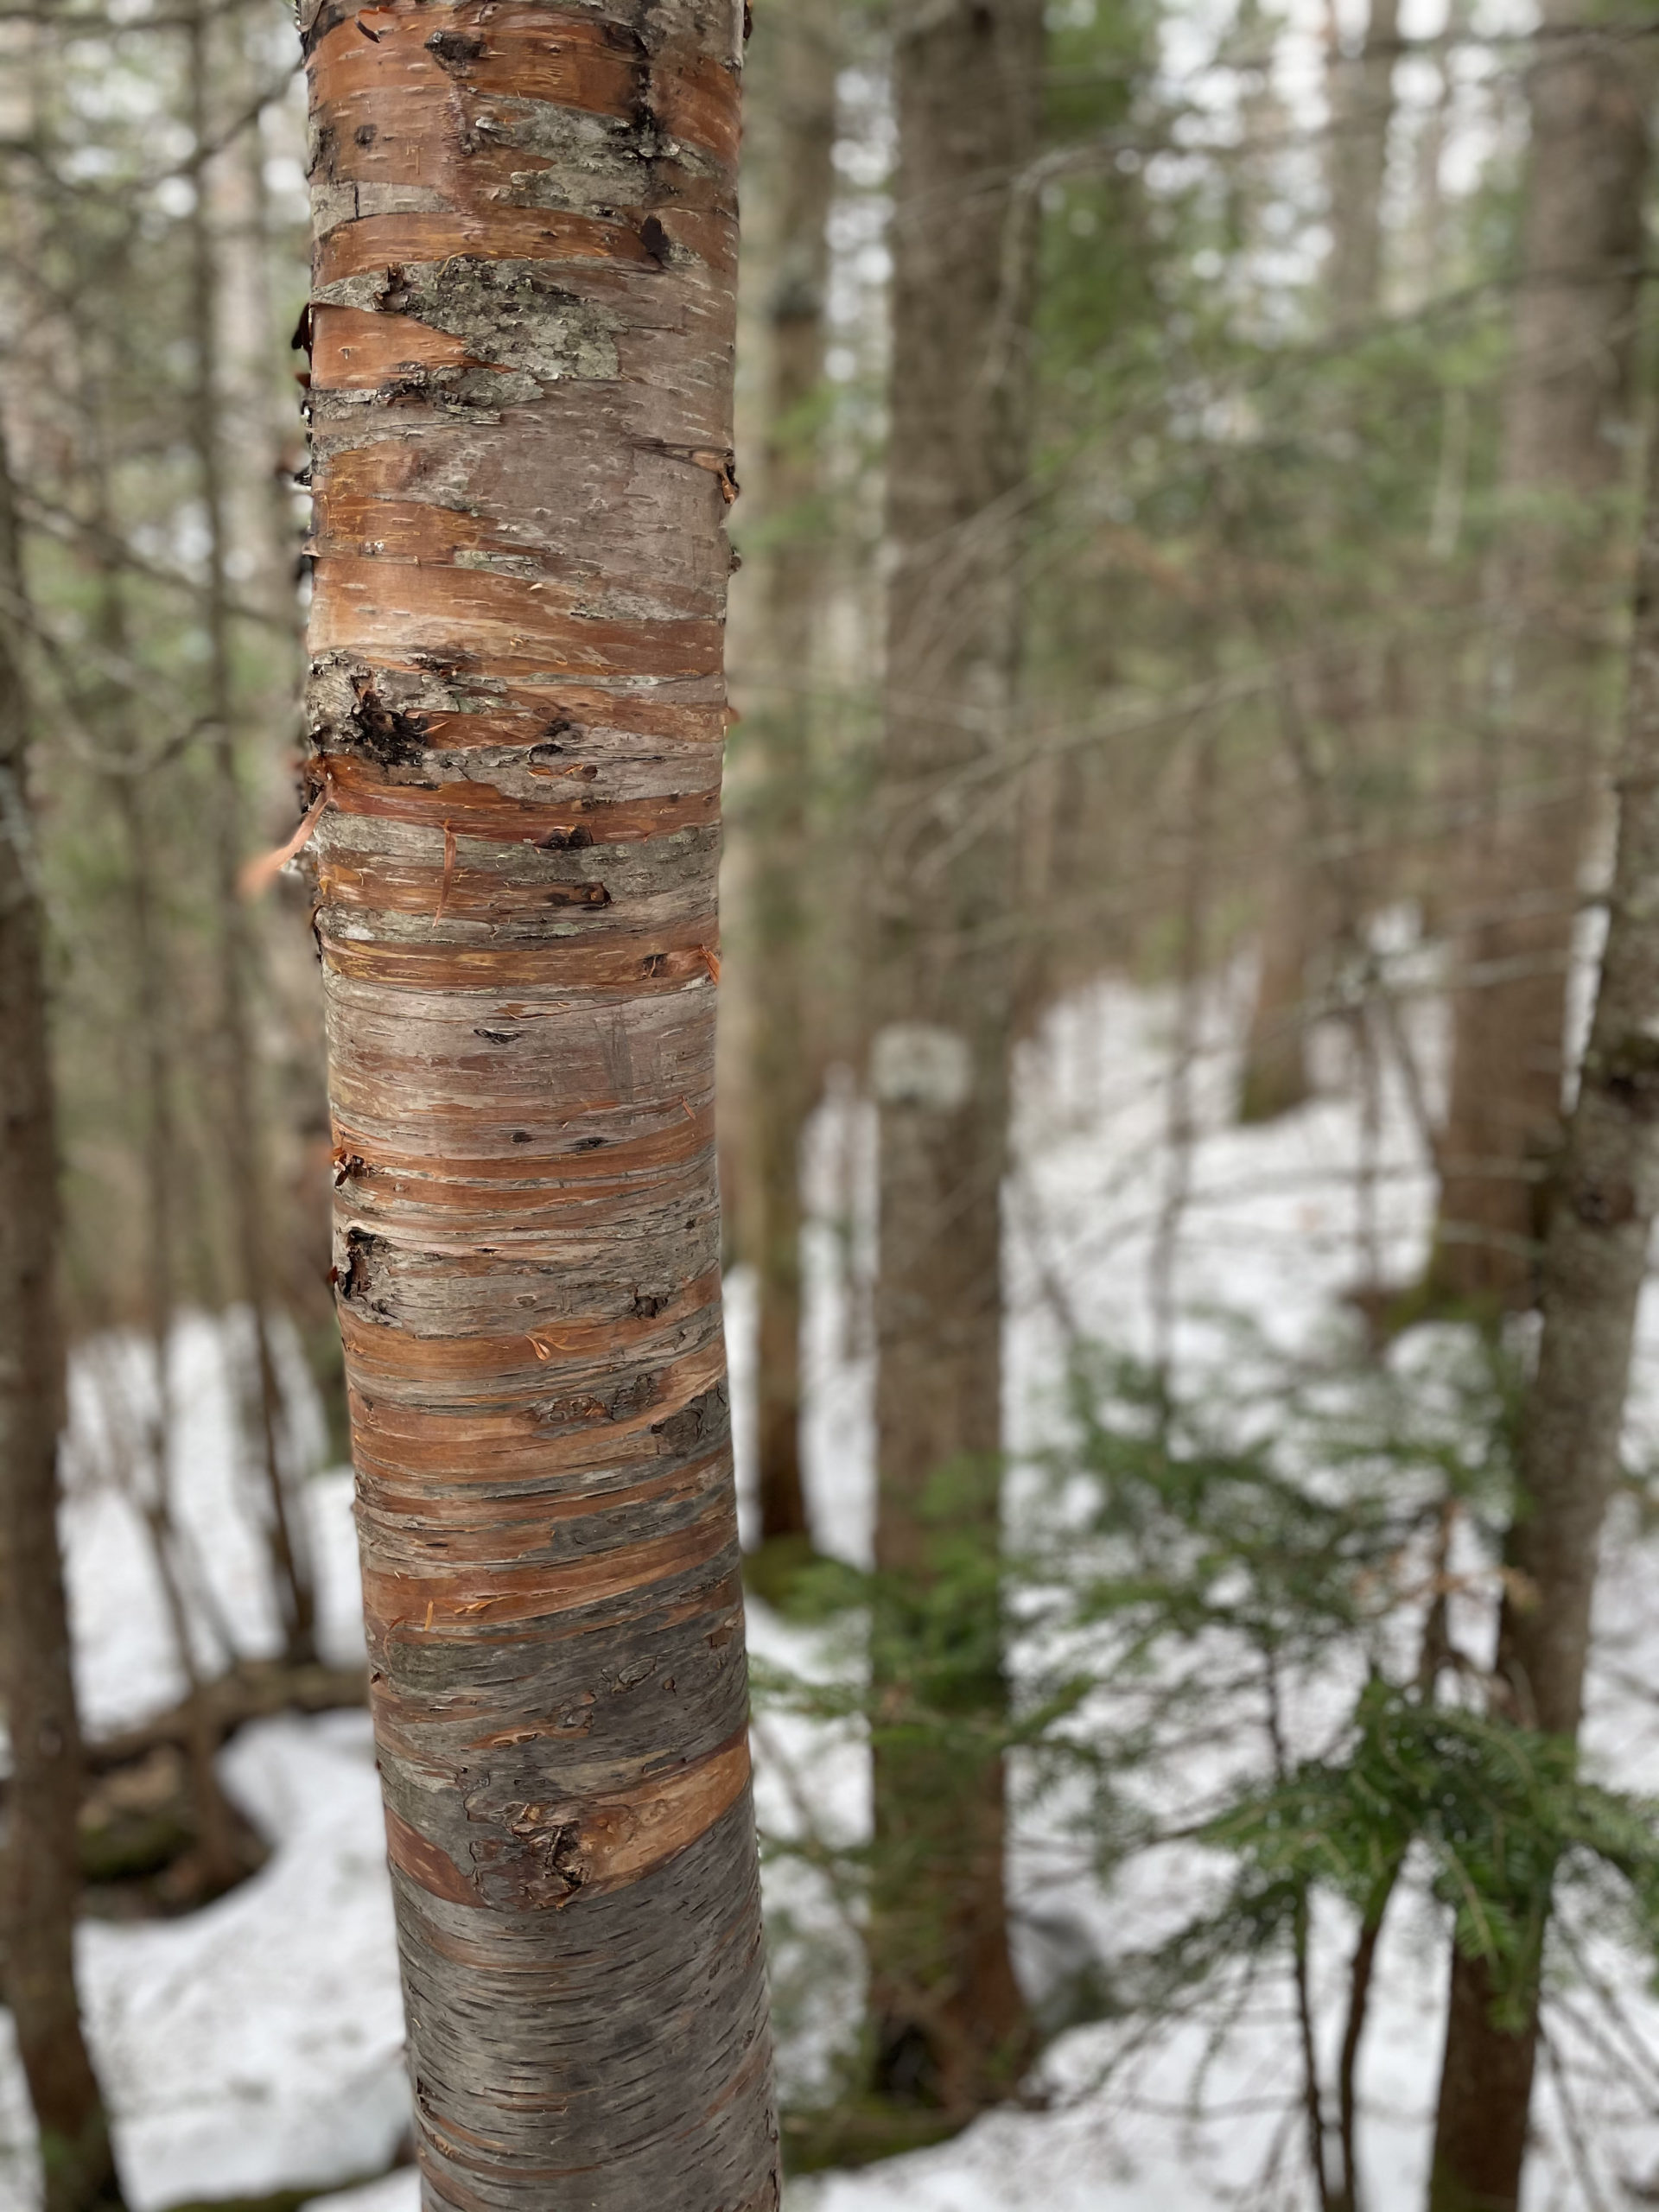
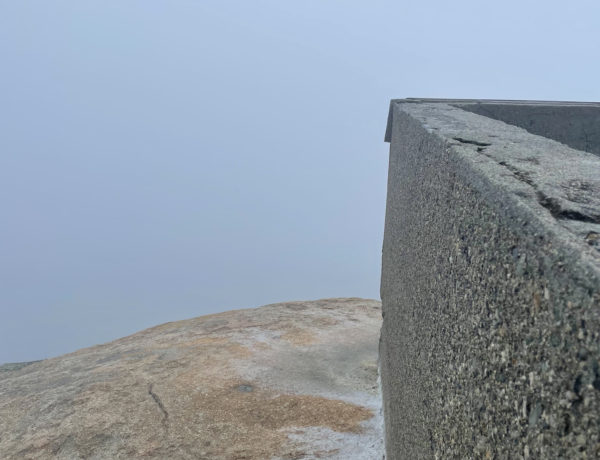
After the cascade ends, Beaver Brook Trail goes over a series of steep and moderate sections, through pine forests and several stretches of dead woods. There are many restricted views of the surrounding valleys and surprising pockets of cold air trapped in the trees. At about 3.5 miles, Beaver Brook Trail and Benton Trail join and travel in tandem past the treeline to the northern ridge crest of Mt. Moosilauke. The last quarter-mile of the trail is marked by cairns and is entirely exposed, making it a dangerous ascent in bad weather. Even on this warm afternoon, layers were required at the top and I could tell how wild the wind would be on a blustery day.

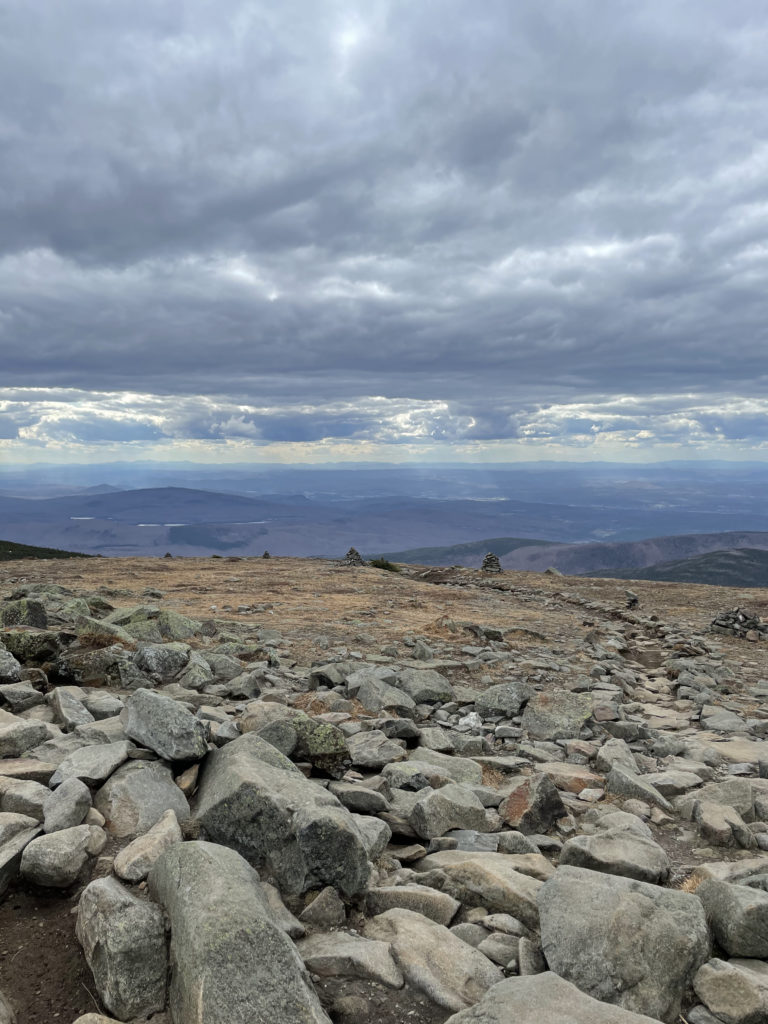
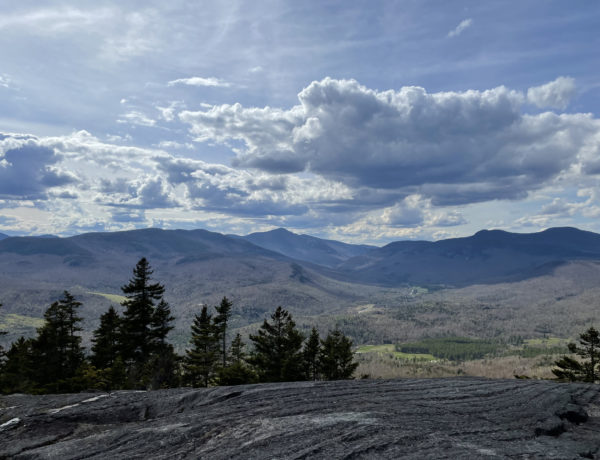
The top of Mt. Moosilauke is different from other summits in its expansiveness and relative lack of rocks. There is a well-defined path curbed with stones leading to the summit, but similar to the stretch of trail between Mt. Monroe and Lakes of the Clouds, the surrounding ground is covered with fragile alpine vegetation. Hikers are urged to stay on the marked trail to avoid trampling the plants, which are often rare at higher elevations. There are stones around the summit sign, built up in what appears to be the foundation of an old fort. Not an official military fort, but perhaps a hiker fort built for shelter from the whipping wind. From the summit, the mountaintop slopes evenly away from the apex and the views stretch for miles in every direction.
Had I checked the elevation (almost 5,000 ft), all of this might have been slightly less surprising.
After a quick snack, I headed back. The mileage reported for this trail by AllTrails is wrong by almost a mile (I can’t figure out why) and it’s a hard enough hike that it makes a difference. I started this one later in the day than normal, and I had a brief panic about not getting back in time. In time for what, I’m not entirely sure. This has happened to me on several occasions, usually when the ascent is taking longer than I’d planned. It’s a short-but-intense moment of fear about the possibility of spending the night in the woods.
I made it safe and sound (and sore) back to the campground and built cozy nest in the back of the car. But it was later than I normally finish a hike—almost 6pm—and I started to wonder: what would I do if I had to spend the night?
According to a National Geographic article I found, the most vulnerable hikers aren’t the ones going deep into the wilderness on backpacking adventures. It’s the day hikers who are most at risk because they’re almost never prepared to spend the night. Over a ten year span in national parks across the country, day hikers made up 42% of all search-and-rescue cases, while overnight backpackers made up only 13%. In almost every case, the mishap begins when a hiker loses the trail, usually by accident, and becomes lost. Even if you have a cell signal and can call for help, be aware that if it’s close to dark, search and rescue might wait until morning to come out because it’s safer for them.
So… lost in the woods at dusk… now what?
Ideally you’ve told at least two people where you’re hiking and when you plan to be back. These should be people who will notice if you’re missing, not the cashier at the gas station where you bought a snack or fellow hikers you encountered before you got lost.
In your day pack, carry a warm jacket no matter what the temperature is, a lighter or waterproof matches, and a 55-gallon trash bag on every hike. Your pack will, of course, also have the should-be-obvious things like a compass, map, and basic first aid kit. It may seem crazy to pack a Down jacket for a summer day hike, but the survival expert interviewed for the Nat Geo article said if you’re wet and it’s 65 degrees, you can still become hypothermic. It’s even more dangerous if you’re injured because your body can’t thermo-regulate as well.
Hiker term: Bivy sack
Short for bivouac sack, it was invented to serve climbers who wanted lightweight emergency weather protection during multiple-day ascents. The sack has been adopted as a standard shelter option by ultralight hikers who want to shed every extra ounce from their packs.
I do have all these things in my day pack (well, I didn’t have the trash bag at the time, but it has since been added), so I was more interested in figuring out where I would sleep than what I needed to have with me. My info-tracking adventures across Google led me to Backpacker, where I learned that the best shelter is an improvised A-frame built with layers of sticks and pine boughs. And incidentally, the trash bag makes all the difference. Layering the bag in between the natural roofing (layer it so it doesn’t blow off) is the best way to ensure a dry shelter. On the ground, pile up leaves and foliage to keep you off the potentially damp forest floor. The shelter shouldn’t be any wider than your body, and it should be as closed up as possible to keep body heat inside.
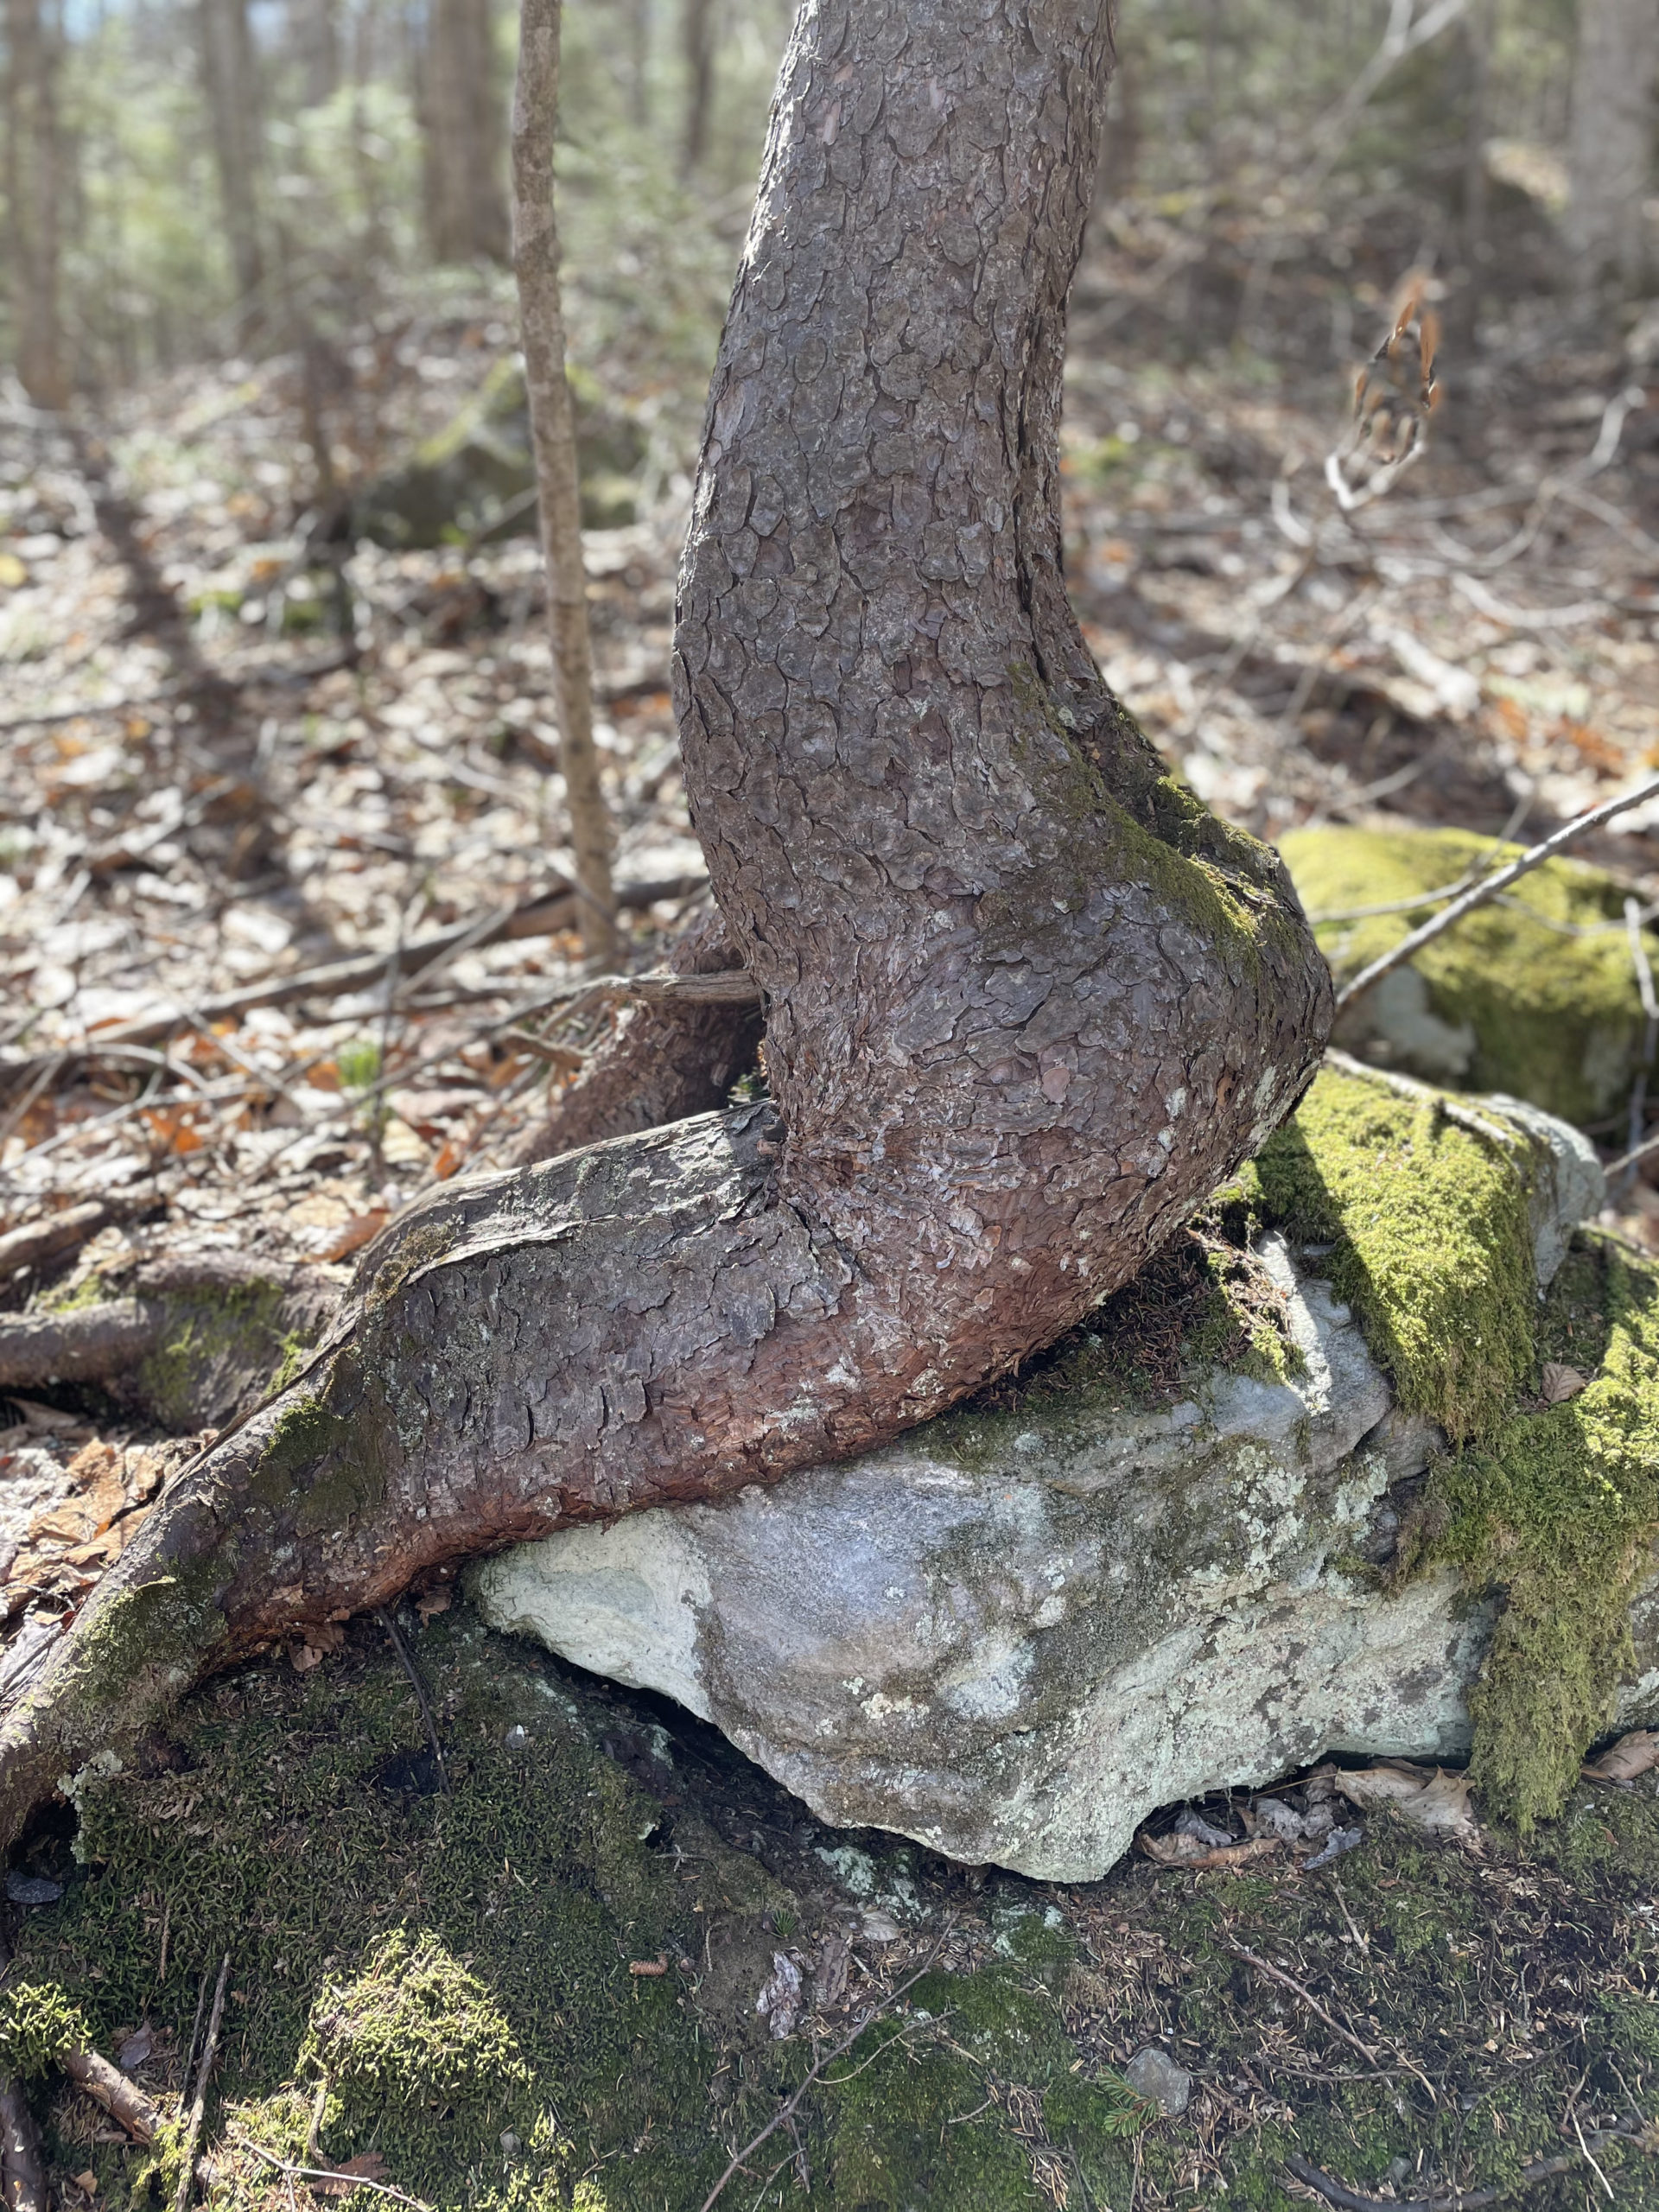
The only downside to this kind of shelter is it takes time and precious calories to build. If you’re injured or it’s dark or stormy, find a spot that is as protected as possible. A pre-existing shelter—like a hollow log or tree well, rock crevice or covered ledge, or the base of an evergreen where low boughs provide a roof—are ideal starting points. Then, burrow in. Create a pile with leaves, debris, bark, or whatever you can find to lay on top of, and cover yourself with the same stuff. You won’t sleep well, but you’ll be protected.
I’m glad to have these shelter-making how-tos in my hiking tool kit. Anxiety attaches itself to the unknown, and having a plan for how to manage an unplanned overnight in the woods takes the edge off the panic. I’m also seriously considering investing in an emergency ultralight bivy sack to add to my daypack… just for peace of mind.
Summit lesson: Knowledge is the enemy of fear.
Mt. Moosilauke: Beaver Brook Trail to Benton Trail
| Total elevation: 4,802 ft | Elevation gain: 3,050 ft |
| Mileage: 7.6 miles | Alpine exposure: significant, fully exposed |
| Terrain: very steep sections, rock steps, wooded trail | Challenges: slippery rocks, drop offs, exposure |
| View payoff: stunning, 360 views… and cascades! | Dogs: yes, but use caution near the ledges |
Recap: The Beaver Brook Cascades are a highlight in the Moosilauke-Kinsman Ridge and absolutely worth a trip, even for those who don’t plan to summit Mt. Moosilauke. This probably isn’t a great choice for little kiddos; all the drop offs into the falls are parent-panic-inducing. If you are headed to the top, be prepared for a long, challenging hike with full exposure to the elements for the last half-mile, followed by stunning, unobstructed views all around.
2 Comments
Ken Savage
May 10, 2021 at 11:11 amThx for writing this and sharing on the gram, Sarah.
One thing I’d love to know about your writings is the location where you parked to start your hikes. Maybe GPS coordinates or directions from the highway would be awesome. Otherwise i’m looking forward to the next post.
Sarah Holman
May 10, 2021 at 1:06 pmHi, Ken! Parking can be tricky, especially as we get into the busier hiking season. I’m happy to include coordinates and/or directions in my posts, great idea!
Moosilauke’s Beaver Brook Trail has a roomy parking lot at the trailhead, GPS coordinates 44.04019, -71.79265. It’s about a 10 minute drive west on Rt 112 from I-93. If you’re looking at a specific trail I’ve already written about, please email and I’d be glad to send the coordinates and directions. Thanks for following the blog and getting in touch! Happy hiking!